Star Wars Chapter 3

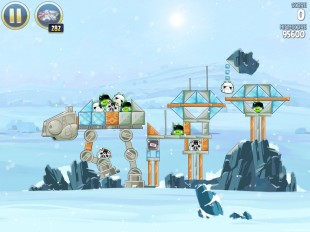
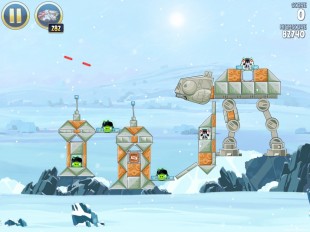
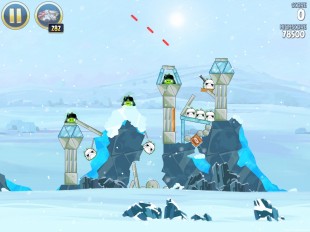
Millennium Falcon Walkthrough Hoth Level 3-8

Here is our Millennium Falcon Gold Medal video walkthrough for Angry Birds Star Wars Hoth level 3-8. The general strategy here is pretty simple: Time the shot to avoid the laser blasts, and fling the Egg...

Categories
Tags
1

Millennium Falcon Walkthrough Hoth Level 3-7

Here is our Millennium Falcon Gold Medal video walkthrough for Angry Birds Star Wars Hoth level 3-7. Toss the Egg as far as possible, landing it in the gap between the AT-AT and the communications tower....

Categories
Tags
1

Millennium Falcon Walkthrough Hoth Level 3-6

Here is our Millennium Falcon Gold Medal video walkthrough for Angry Birds Star Wars Hoth level 3-6. Toss the can into the right antenna of the main structure, which is just about the farthest it can be...

Categories
Tags
1

Millennium Falcon Walkthrough Hoth Level 3-5

Here is our Millennium Falcon Gold Medal video walkthrough for Angry Birds Star Wars Hoth level 3-5. Toss the Egg against the central tower, causing it to fall down the chute. The best place to call for...

Categories
Tags
1

Millennium Falcon Walkthrough Hoth Level 3-4

Here is our Millennium Falcon Gold Medal video walkthrough for Angry Birds Star Wars Hoth level 3-4. Loft the Egg over the first structure, landing it near the Probe Droid in the middle of the level. Call...

Categories
Tags
1

Millennium Falcon Walkthrough Hoth Level 3-3

Here is our Millennium Falcon Gold Medal video walkthrough for Angry Birds Star Wars Hoth level 3-3. Toss the Egg over the initial tower and call for the Millennium Falcon when it is between the main structure...

Categories
Tags
1

Millennium Falcon Walkthrough Hoth Level 3-2

Here is our Millennium Falcon Gold Medal video walkthrough for Angry Birds Star Wars Hoth level 3-2. Fling the Egg into the top of the left tower, causing it to fall onto the Probe Droid below. Call for...

Categories
Tags
1

Millennium Falcon Walkthrough Hoth Level 3-1

Here is our Millennium Falcon Gold Medal video walkthrough for Angry Birds Star Wars Hoth level 3-1. Fling the Egg straight head toward the snow, calling for the Millennium Falcon when it is at the same...

Categories
Tags
1

Angry Birds Star Wars Hoth Level 3-20 Walkthrough

Star Destroyer dead ahead! Our strategy for Angry Birds Star Wars Hoth level 3-20 is to send Han Solo towards the blue planetoid, firing his blaster parallel to the top of the Star Destroyer to take out...

Categories
Tags
99

Angry Birds Star Wars Hoth Level 3-19 Walkthrough

Our strategy for Angry Birds Star Wars Hoth level 3-19 is to send Princess Leia up and use her tractor beam to pull down the AT-AT Walker head so that his blasters cause some damage. Send Obi-Wan down...

Categories
Tags
52

Angry Birds Star Wars Hoth Level 3-18 Walkthrough

Our strategy for Angry Birds Star Wars Hoth level 3-18 is fire Leia up towards the top of the atmosphere, aiming her tractor beam at the large asteroid to the right of the floating pig. This should pull...

Categories
Tags
48

Angry Birds Star Wars Hoth Level 3-17 Walkthrough

Our strategy for Angry Birds Star Wars Hoth level 3-17 is to fling Han up high and fire his blaster above the AT-AT Walker so it breaks the wood holding up the boulders. The falling boulders should cause...

Categories
Tags
43

Angry Birds Star Wars Hoth Level 3-16 Walkthrough

A good strategy for Angry Birds Star Wars Hoth level 3-16 is to shoot Luke at the first small structure beneath the head of the AT-AT Walker (it’s important to take out the adjacent Storm Trooper...

Categories
Tags
27