Space Eagle Walkthrough Danger Zone Level 30
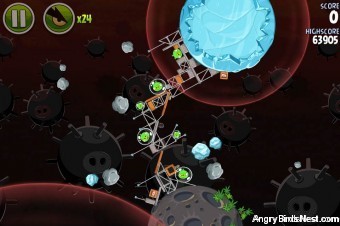
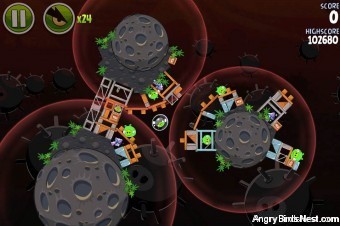
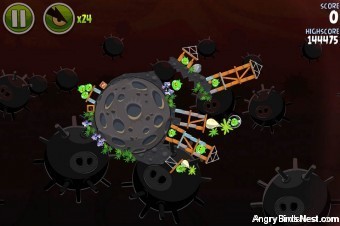
Here is our Space Eagle Total Destruction video walkthrough for Angry Birds Space Danger Zone level 30. Fire a sardine can toward the junction of hollow wooden squares in the cross-shaped structure, triggering...
Categories
Tags
11